Blog

  • How to Create Custom Gutenberg Blocks in WordPress: A Simplified Guide for 2025

    How to Create Custom Gutenberg Blocks in WordPress: A Simplified Guide for 2025

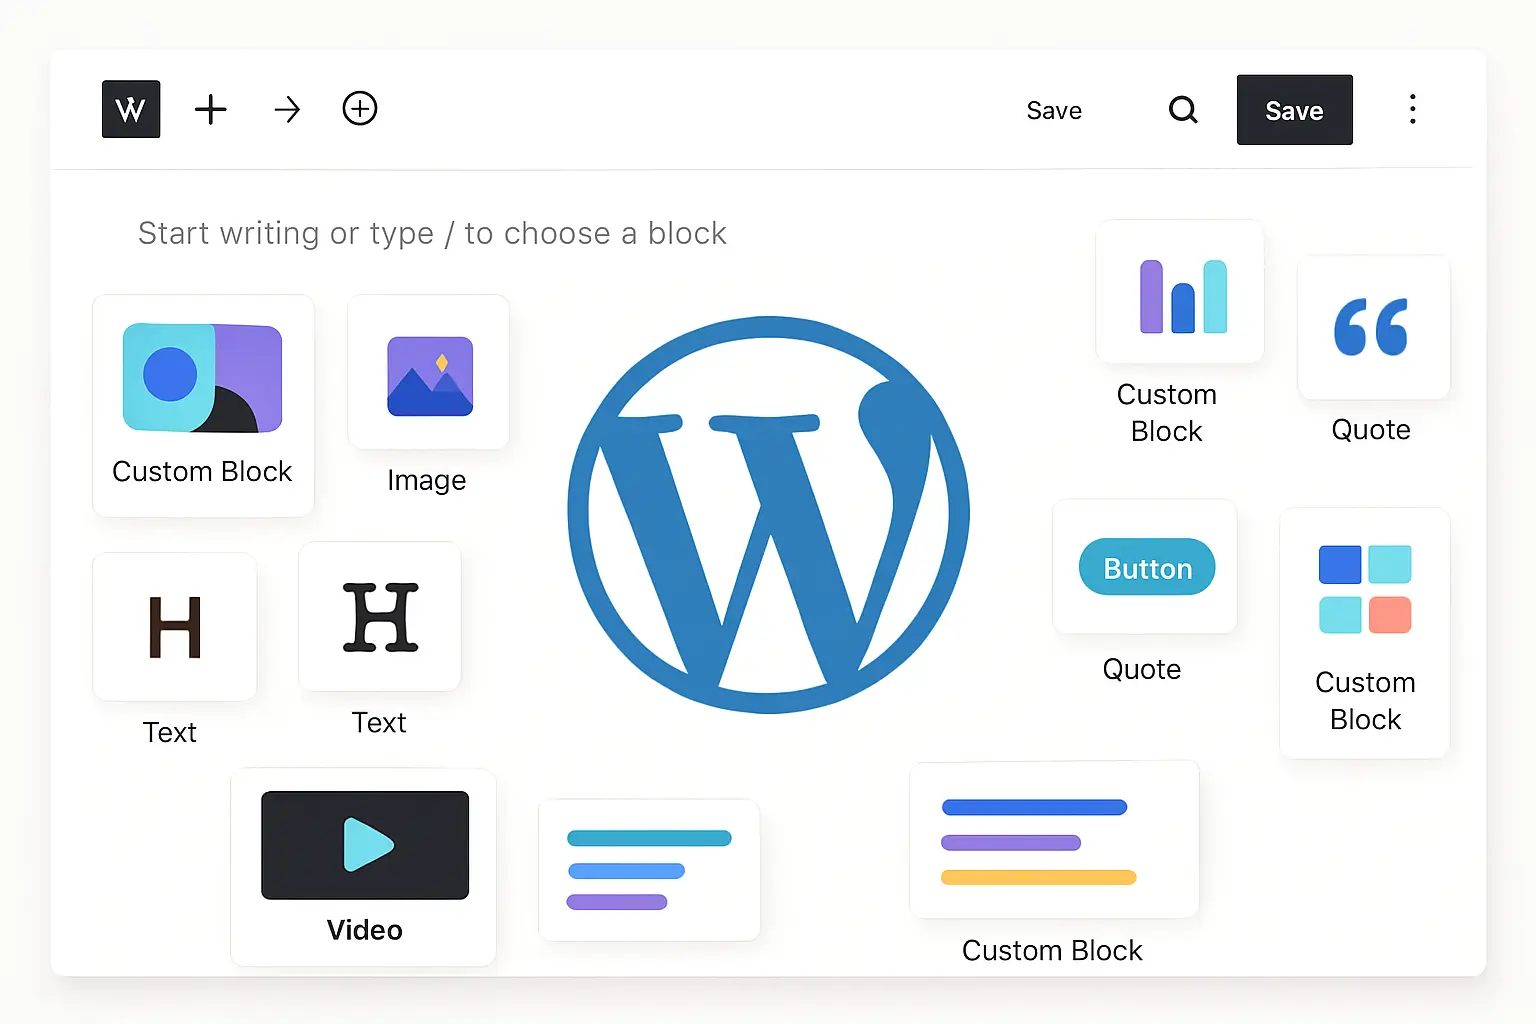
    The Gutenberg Block Editor has revolutionized WordPress content creation by providing a flexible, intuitive way to build pages and posts. But sometimes, default blocks don’t quite fit your unique needs. That’s where custom Gutenberg blocks come in.

    In this post, you’ll learn how to create custom blocks easily—to add personalized, reusable design elements to your WordPress site without heavy coding. Even beginners can follow along!

    Why Create Custom Blocks?

    • Reusability: Build once, use everywhere.
    • Consistency: Maintain a coherent design system.
    • Flexibility: Tailor blocks exactly to your needs.
    • Better client control: Allow clients to edit content without breaking layouts.

    Two Ways to Create Custom Blocks

    1. No-Code / Low-Code Approach Using Block Patterns

    Block patterns are predefined block layouts you can save and reuse. WordPress 6.8+ makes creating and managing these easier through the Block Editor interface.

    • Group multiple blocks into one.
    • Save the group as a reusable block or pattern.
    • Insert patterns on any page or post.
    • Use plugins like GutenKit for enhanced block pattern creation with drag-and-drop layouts and responsive design options.

    2. Coding Your Own Custom Blocks (Simplified)

    If you want more control or dynamic functionality:

    • Create a plugin to load your block files.
    • Register the block with registerBlockType.
    • Define your block’s editor and front-end markup using React components.
    • Use ACF Blocks for an easier bridged approach between PHP and React.

    Step-by-Step: Creating a Simple Custom Block

    1. Set up a new plugin folder in /wp-content/plugins/.
    2. Add your block registration PHP file.
    3. Create JavaScript files where you define block edit and save functions using React syntax.
    4. Enqueue scripts and styles properly.
    5. Activate your plugin in WordPress and start adding your custom block in the editor.

    Tips for Success

    • Use existing block libraries for inspiration.
    • Test blocks extensively in different browsers and devices.
    • Keep accessibility in mind—use semantic HTML and ARIA attributes.
    • Document your blocks so clients and teammates understand how to use them.

    Resources

    • WordPress Developer Handbook on Block Editor
    • GutenKit plugin for enhanced block controls
    • Official ACF Blocks documentation
  • Supercharge Your WordPress Site: Performance Boosting Tips for 2025

    Supercharge Your WordPress Site: Performance Boosting Tips for 2025

    Speed isn’t just a nice-to-have—it’s a must. In 2025, slow WordPress sites frustrate visitors, hurt conversions, and damage your search rankings. Whether you’re building for clients or your own brand, optimizing performance should be at the heart of every project. Here’s how to make your WordPress site fly.


    Start with the Right Hosting

    Not all hosts are created equal. Choose a provider that offers SSD storage, optimized server stacks, and a generous allocation of resources. Managed WordPress hosts (like Kinsta, WP Engine, or Cloudways) often deliver the best performance out of the box, but even shared hosting can be tuned for speed with the right setup.


    Pick a Lightweight, Well-Coded Theme

    bloated theme is one of the biggest speed killers. Avoid themes packed with unnecessary features, sliders, and complex layouts. Instead, opt for a lightweight, block-based theme—especially those built for WordPress 6.8+ and optimized for performance. Always test a theme’s speed using tools like GTmetrix or Google PageSpeed Insights before committing.


    Optimize Every Image

    Images can make or break your site’s load time. Always compress images before uploading, use modern formats like WebP, and consider lazy loading to defer off-screen images until they’re needed. Plugins like Smush or Imagify automate much of this process.


    Be Selective with Plugins

    Every plugin adds overhead—some more than others. Audit your plugins regularly. Remove what you don’t use, and replace resource-heavy plugins with lighter alternatives. Test your site’s speed after adding a new plugin to catch any slowdowns early.


    Enable Caching and a CDN

    Caching stores a static version of your site, so repeat visitors load pages almost instantly. Plugins like WP Rocket, LiteSpeed Cache, or W3 Total Cache make this easy. Pair caching with a Content Delivery Network (CDN) to serve files from servers closer to your visitors, slashing load times worldwide.


    Minify and Combine Files

    Reduce the number of HTTP requests by merging CSS and JavaScript files and minifying them to remove unnecessary characters. Plugins like Autoptimize handle this automatically. Fewer, smaller files mean faster rendering.


    Keep Everything Updated

    Outdated WordPress core, themes, and plugins are security risks—and can also hurt performance. Enable auto-updates for minor releases, and check for updates at least weekly.


    Advanced Tweaks for the Ambitious

    • Database Optimization: Clean up your database with a plugin like WP-Optimize to remove spam, revisions, and transients.
    • Reduce External Scripts: Limit analytics, ads, and third-party scripts. Each external request slows your site.
    • Performance Monitoring: Use tools like Query Monitor to identify bottlenecks.
    • Consider Headless or Static Options: For ultimate speed, explore headless WordPress with Next.js or static site generators.

    Make It a Habit

    Performance optimization isn’t a one-time fix. Regular audits, testing, and tuning will keep your site fast as it grows. Bookmark tools like GTmetrix, WebPageTest, and Google’s PageSpeed Insights for ongoing checks.


    Ready to Speed Up?

    Try these tips on your next project—or your own site—and watch your load times drop. Fast sites keep users happy, boost SEO, and help you stand out in 2025.

  • 8 Essential WordPress Security Habits Every Developer Must Master in 2025

    8 Essential WordPress Security Habits Every Developer Must Master in 2025

    Security should never be an afterthought. As a WordPress developer, it’s your responsibility to build sites that aren’t just fast and beautiful, but safe. Whether you’re launching a client’s portfolio or your own blog, these are the daily habits that will keep your websites—and reputation—protected in 2025.


    1. Always Use Strong, Unique Passwords

    This sounds basic, but brute-force attacks are still a major threat. Never use predictable passwords like “admin” or “password123.” Instead, generate and store strong, random passwords for every site, admin, and FTP account. Consider using a password manager to keep track of them all.


    2. Enable HTTPS on Every Site

    An SSL certificate (HTTPS) encrypts data between your site and visitors—critical for login pages, forms, and user privacy. Most hosts offer free SSL via Let’s Encrypt; there’s no excuse not to use it. Plus, browsers now mark non-HTTPS sites as “Not Secure,” which scares users and hurts SEO.


    3. Keep WordPress, Plugins, and Themes Updated

    WordPress core, plugins, and themes get patched for vulnerabilities all the time. One of the easiest ways hackers get in is by exploiting known, outdated bugs. Enable auto-updates for minor releases, and check your sites weekly for updates to plugins and themes.


    4. Limit Login Attempts

    By default, WordPress allows unlimited login attempts—a recipe for brute-force attacks. Install a plugin like Limit Login Attempts Reloaded to block IPs after a few failed tries, adding a simple but powerful layer of defense.


    5. Disable PHP File Execution in Sensitive Directories

    Hackers sometimes inject malicious PHP files into folders like /wp-content/uploads/. Add a .htaccess file in these directories containing <Files *.php> deny from all </Files> to prevent execution. This stops one common attack vector cold.


    6. Regular Backups Are Non-Negotiable

    Use a reliable plugin (like UpdraftPlus or WP Vivid) to schedule automated backups—ideally stored offsite. If disaster strikes, you can restore in minutes. Remember: Your client’s data (and your time) are too valuable to risk.


    7. Install a Security Plugin

    Plugins like Solid Security or Wordfence can scan for malware, block suspicious IPs, harden your site, and send alerts if anything looks off. They’re not a silver bullet, but they add critical protection.


    8. Monitor for Suspicious Activity

    Use tools to monitor file changes, logins, and updates in real time. Plugins like Activity Log give you visibility into who’s doing what on your site.


    Bonus: Educate Your Clients

    The weakest link is often the end user. Teach clients about secure passwords, the dangers of clicking random links, and the importance of updates. A little education goes a long way.


    Start Today, Sleep Better Tonight

    WordPress security isn’t about fear—it’s about confidence. By making these habits second nature, you’ll stand out as a developer who takes both performance and protection seriously. Your clients (and your inbox) will thank you.


    What’s your go-to security tip? Share it in the comments below—let’s make 2025 safer for WordPress, together.

  • Building a Headless WordPress Portfolio with Next.js in 2025

    Building a Headless WordPress Portfolio with Next.js in 2025

    In the fast-evolving world of web development, headless WordPress has emerged as a top choice for developers who want flexibility, speed, and modern tooling. I recently built a personal portfolio site that leverages WordPress as a content management system (CMS) and Next.js for the front end—here’s how I did it, what I learned, and why you might want to try something similar.


    Why Go Headless?

    With traditional WordPress, your site’s front end and back end are tightly coupled. Headless WordPress decouples them: WordPress only handles content creation and management, while a separate framework (like React, Vue.js, or Next.js) powers the user experience. This setup offers blazing-fast performance, greater design freedom, and access to a rich JavaScript ecosystem.


    My Tech Stack

    • WordPress: The latest version (6.8+), set up on a reliable host, with the REST API or GraphQL enabled.
    • Next.js: A React framework for static and server-rendered sites. It’s perfect for modern portfolios and blogs.
    • ACF (Advanced Custom Fields): For flexible content modeling in WordPress.
    • Tailwind CSS: For fast, responsive styling.
    • Vercel: For deployment and hosting.
    • GitHub: For version control and collaboration.

    Step-by-Step Build Process

    1. Set Up Your WordPress Site

    • Install WordPress on your chosen hosting provider.
    • Enable the REST API (or install WPGraphQL if you prefer GraphQL).
    • Create a ‘Projects’ custom post type (easy with plugins like Custom Post Type UI).
    • Add custom fields for project details (title, description, images, links, technologies used).
    • Populate your portfolio with a few projects.

    2. Build the Front End with Next.js

    • Initialize a Next.js project with npx create-next-app.
    • Fetch data from WordPress using fetch in Next.js’s getStaticProps for fast, static rendering.
    • Design your portfolio layout—keep it clean, visually oriented, and mobile-friendly.
    • Integrate project details from your custom fields, displaying title, description, images, and links.
    • Add a blog section pulling from WordPress posts if you want to share thoughts and updates.

    3. Deploy and Optimize

    • Deploy your Next.js site on Vercel (it’s free for starters and super fast).
    • Enable incremental static regeneration to keep content fresh without full rebuilds.
    • Optimize images and assets for speed.
    • Set up analytics (Google Analytics, Vercel Analytics, or something privacy-focused).
    • Test on all devices—speed, functionality, and accessibility matter.

    Lessons Learned

    • Performance is transformative: Headless WordPress with Next.js delivers near-instant page loads.
    • Flexibility is key: You can use any front-end tech or design system you like, without being limited by WordPress themes.
    • Content management remains familiar: Clients or collaborators can update content in WordPress’s familiar admin, while your dev team works in modern tooling.
    • Edge cases exist: Previewing content before it’s published and handling authentication (for protected content) require extra plugins or code—e.g., WordPress’s Preview API or Headless WordPress preview plugins.

    Example Code Snippet

    js// In your Next.js page
    export async function getStaticProps() {
      const res = await fetch(
        'https://your-wordpress-site.com/wp-json/wp/v2/projects'
      );
      const projects = await res.json();
      return { props: { projects } };
    }
    

    Call to Action

    If you’re a WordPress developer in 2025, try a headless project. Whether it’s a portfolio, blog, or client site, the combination of WordPress content management and a modern JavaScript front end is powerful, scalable, and future-proof.

    Questions? Suggestions? Drop a comment below—let’s build the future of WordPress, together.