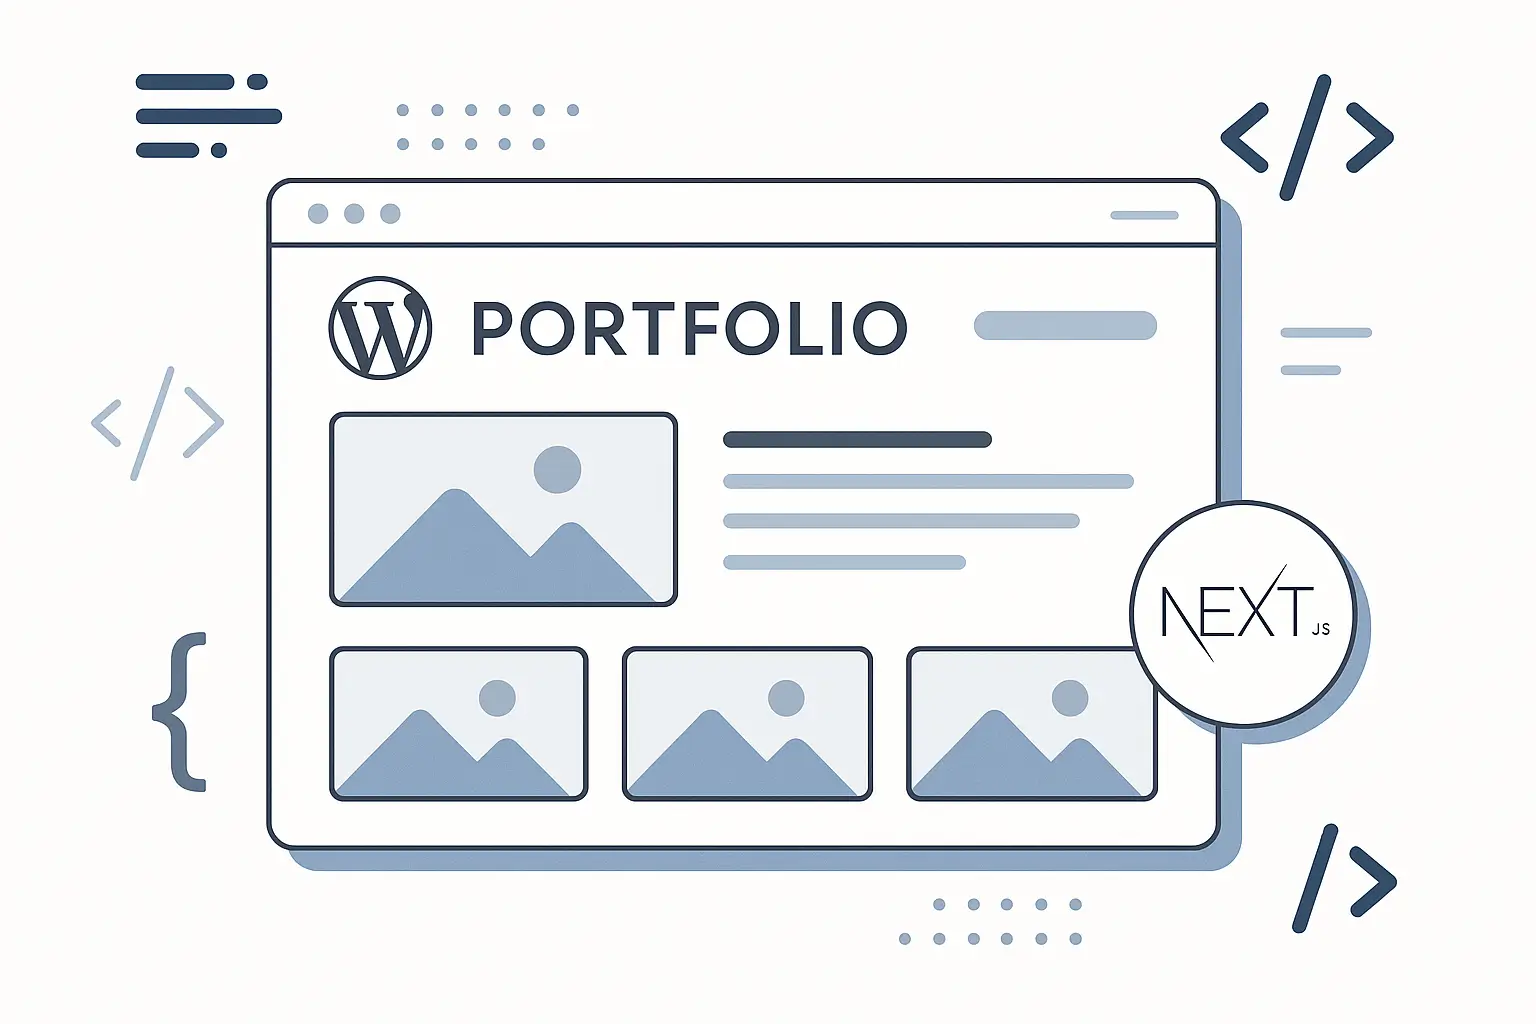
In the fast-evolving world of web development, headless WordPress has emerged as a top choice for developers who want flexibility, speed, and modern tooling. I recently built a personal portfolio site that leverages WordPress as a content management system (CMS) and Next.js for the front end—here’s how I did it, what I learned, and why you might want to try something similar.
Why Go Headless?
With traditional WordPress, your site’s front end and back end are tightly coupled. Headless WordPress decouples them: WordPress only handles content creation and management, while a separate framework (like React, Vue.js, or Next.js) powers the user experience. This setup offers blazing-fast performance, greater design freedom, and access to a rich JavaScript ecosystem.
My Tech Stack
- WordPress: The latest version (6.8+), set up on a reliable host, with the REST API or GraphQL enabled.
- Next.js: A React framework for static and server-rendered sites. It’s perfect for modern portfolios and blogs.
- ACF (Advanced Custom Fields): For flexible content modeling in WordPress.
- Tailwind CSS: For fast, responsive styling.
- Vercel: For deployment and hosting.
- GitHub: For version control and collaboration.
Step-by-Step Build Process
1. Set Up Your WordPress Site
- Install WordPress on your chosen hosting provider.
- Enable the REST API (or install WPGraphQL if you prefer GraphQL).
- Create a ‘Projects’ custom post type (easy with plugins like Custom Post Type UI).
- Add custom fields for project details (title, description, images, links, technologies used).
- Populate your portfolio with a few projects.
2. Build the Front End with Next.js
- Initialize a Next.js project with
npx create-next-app. - Fetch data from WordPress using
fetchin Next.js’sgetStaticPropsfor fast, static rendering. - Design your portfolio layout—keep it clean, visually oriented, and mobile-friendly.
- Integrate project details from your custom fields, displaying title, description, images, and links.
- Add a blog section pulling from WordPress posts if you want to share thoughts and updates.
3. Deploy and Optimize
- Deploy your Next.js site on Vercel (it’s free for starters and super fast).
- Enable incremental static regeneration to keep content fresh without full rebuilds.
- Optimize images and assets for speed.
- Set up analytics (Google Analytics, Vercel Analytics, or something privacy-focused).
- Test on all devices—speed, functionality, and accessibility matter.
Lessons Learned
- Performance is transformative: Headless WordPress with Next.js delivers near-instant page loads.
- Flexibility is key: You can use any front-end tech or design system you like, without being limited by WordPress themes.
- Content management remains familiar: Clients or collaborators can update content in WordPress’s familiar admin, while your dev team works in modern tooling.
- Edge cases exist: Previewing content before it’s published and handling authentication (for protected content) require extra plugins or code—e.g., WordPress’s Preview API or Headless WordPress preview plugins.
Example Code Snippet
js// In your Next.js page
export async function getStaticProps() {
  const res = await fetch(
    'https://your-wordpress-site.com/wp-json/wp/v2/projects'
  );
  const projects = await res.json();
  return { props: { projects } };
}
Call to Action
If you’re a WordPress developer in 2025, try a headless project. Whether it’s a portfolio, blog, or client site, the combination of WordPress content management and a modern JavaScript front end is powerful, scalable, and future-proof.
Questions? Suggestions? Drop a comment below—let’s build the future of WordPress, together.
Leave a Reply